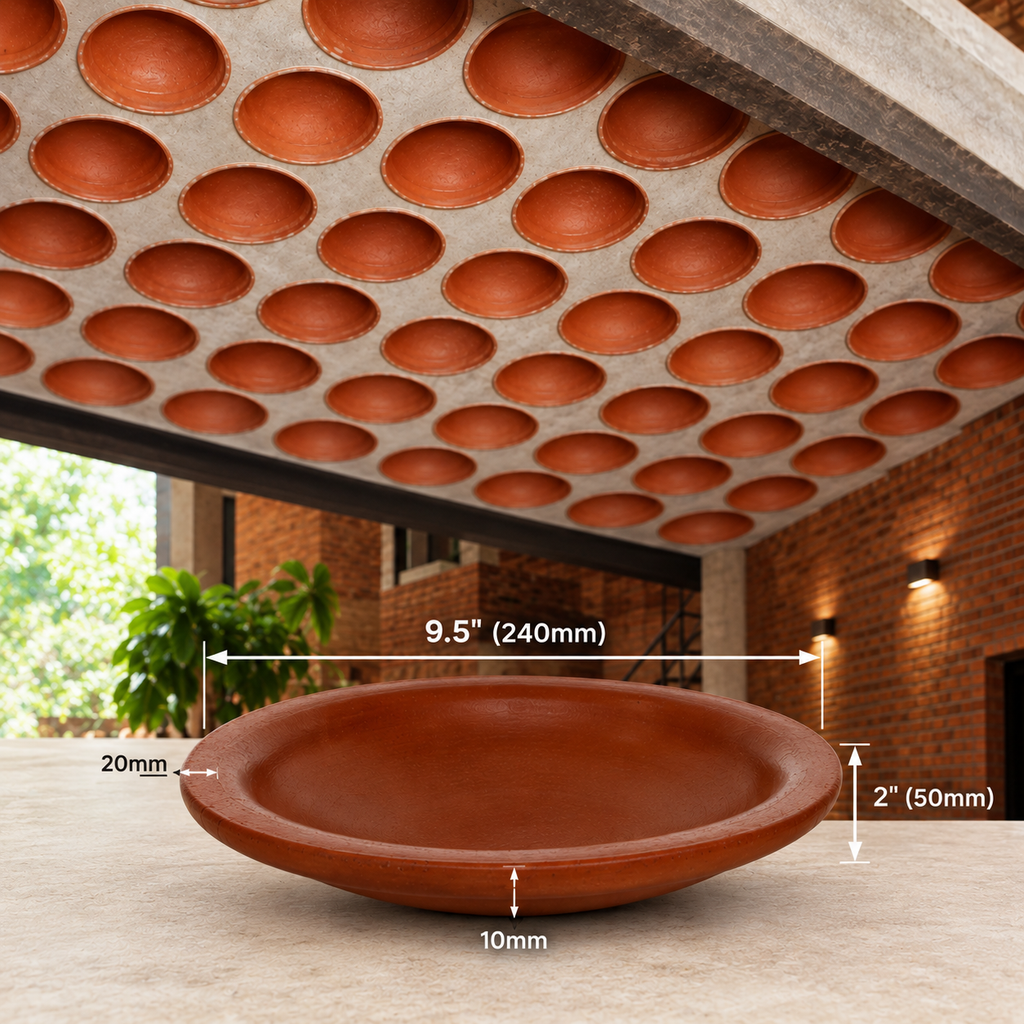

How Filler Slab Roofs Are Built
How Filler Slab Roofs Are Built: A Step-by-Step Overview
Filler slab roofs look deceptively simple from below just a neat grid of terracotta pots set into concrete. But getting that finished ceiling right depends entirely on how precisely each stage of construction is executed. Because the technique deviates from standard RCC (reinforced cement concrete) practice, a mistake at any single step pot spacing, reinforcement placement, or concrete pouring can compromise structural strength, thermal performance, or the final look of the ceiling.
Here's how a filler slab roof actually comes together, step by step.
Step 1: Structural Design and Load Calculation
Before any material reaches the site, a structural engineer calculates the slab thickness, beam spacing, and reinforcement layout for the roof, just as they would for a conventional RCC slab. This step also determines the filler pot size and spacing pattern, since pot diameter has to correspond to the slab depth while leaving enough concrete cover above and below. Skipping or rushing this stage is where most later problems originate.
Step 2: Shuttering (Formwork) Installation
Standard formwork or shuttering is set up beneath the roof area to hold the wet concrete in place until it cures, exactly as in conventional slab construction. The shuttering also acts as the working platform where the reinforcement and filler pots will be arranged in the following steps.
Step 3: Laying the Bottom Reinforcement Layer
The bottom layer of steel reinforcement bars is laid across the shuttering according to the structural design. This layer handles the tensile forces in the slab and forms the base on which the terracotta filler pots will rest.
Step 4: Placing the Terracotta Filler Pots
This is the step that defines both the strength and the appearance of the finished roof. Terracotta pots are arranged in rows directly on the bottom reinforcement, following the spacing pattern set during design. Getting the spacing right matters more than it might seem:
-
Too close together, and there isn't enough room for concrete ribs to form properly around the reinforcement, weakening the structural connection.
-
Too far apart, and the roof loses much of the material savings and thermal benefit that make filler slabs worthwhile in the first place.
Consistent, even spacing is also what produces the clean, repeating pattern visible on the finished ceiling from below.
Related Read: Top Benefits of Using Terracotta Filler Slabs in Hot Climates
Step 5: Laying the Top Reinforcement Layer
Once the pots are positioned, a second layer of reinforcement steel is placed above them. This top layer works together with the bottom layer to carry the structural loads of the roof, with the terracotta pots sitting in the low-stress zone between the two.
Step 6: Pouring and Vibrating the Concrete
Concrete is poured carefully over the entire assembly, filling the gaps between the terracotta pots to form the structural ribs. This step demands precision: the concrete has to be vibrated evenly so it flows around each pot without dislodging them, while still fully encasing the reinforcement bars. Rushed or uneven pouring at this stage is one of the most common causes of weak spots or visible defects later.
Step 7: Curing the Slab
Like any RCC structure, the poured slab needs a standard curing period kept consistently moist over several days to let the concrete reach its full design strength. Curing time isn't shortened just because filler pots are involved; the concrete ribs still need to cure exactly as they would in a solid slab.
Step 8: Deshuttering and Finishing
Once the concrete has cured sufficiently, the shuttering is removed to reveal the ceiling. At this point, most homeowners leave the terracotta pot grid exposed as the final finish, since it's already visually complete. Others choose a lime wash, whitewash, or glazed finish on the pots for a different look, but no false ceiling or plastering is required unless it's a design preference.
Why Precision Matters at Every Step
A filler slab roof's structural strength ultimately comes from the reinforced concrete ribs formed between the pots, not the terracotta itself; the pots only replace concrete that wasn't doing structural work in the first place. That's why site execution matters as much as the design: correct pot spacing, careful reinforcement placement, and properly vibrated concrete pouring together determine whether the roof delivers on strength, thermal comfort, and durability. Working with a construction team experienced in traditional terracotta filler slab techniques, not just standard RCC work makes a measurable difference in the outcome.
Frequently Asked Questions
Does building a filler slab roof take longer than a conventional RCC slab?
Not significantly. The main additional step is placing the terracotta pots between the two reinforcement layers, which adds some labor time but doesn't change the overall structural sequence or curing timeline.
What's the most common mistake during filler slab construction?
Incorrect pot spacing is the most frequent issue placing pots too close together restricts the concrete ribs around the reinforcement, while spacing them too far apart reduces the material and thermal benefits of the technique.
Do filler slab roofs need special contractors?
It's strongly recommended to work with a team familiar with terracotta filler slab installation specifically, since the sequencing of pot placement and concrete pouring differs from standard RCC practice and affects both strength and finish.
Can filler slab construction be inspected the same way as a regular RCC slab?
Yes, though inspection should also verify pot placement and spacing before the top reinforcement and concrete are added, since this step is not present in conventional slab construction and can't be corrected once concrete is poured.
Final Thoughts
A filler slab roof is built on the same structural fundamentals as any RCC slab reinforcement, concrete, and curing with one additional, precise step in the middle: placing terracotta pots correctly between the reinforcement layers. Get that step right, along with careful concrete pouring, and the result is a roof that's lighter, cooler, and more sustainable, with a ceiling finish that needs no extra work to look complete.
If you're planning a filler slab roof, Mudkart's terracotta filler slab collection offers pot sizes from 4" to 12", plain and with rim, sourced for consistent quality suited to different slab depths and design patterns.
Related post
28
Sep

28
Sep

31
Aug
RECENT POSTS